Digital Ocean provides a Virtual Private Server for just $5 a month. It also happens to be perfect to run a Teamspeak 3 server on. Teamspeak is a great way to chat with friends while playing games or pair programming.
This how-to assumes you’re running Ubuntu 12.04 (or something close to it) and that you already have your server spun up and ready to SSH into. Visit the Community section of Digital Ocean if you need further help.
Step 1 - Get TeamSpeak 3
Our first step is to download the TeamSpeak 3 server from teamspeak.com. Make sure you’re in a directory you own and then execute the following command:
wget http://dl.4players.de/ts/releases/3.0.12.4/teamspeak3-server_linux_amd64-3.0.12.4.tar.bz2
Step 2 - Create the teamspeak3 User
Next, we need a user for the server to run as:
sudo adduser --disabled-login teamspeak3
You can hit enter for all the questions to take the default answers.
Step 3 - Extract the Teamspeak 3 Software
The following step will extract the software we will need:
tar xjf teamspeak3-server_linux_amd64-3.0.12.4.tar.bz2
Step 4 - Move the Software Into Place
We need to move the extracted software to a better location:
sudo mv teamspeak3-server_linux-amd64 /usr/local/teamspeak3
And then give the user we created permission to our new directory:
sudo chown -R teamspeak3 /usr/local/teamspeak3
Step 5 - Have TeamSpeak 3 Start on Droplet Boot Up
The TeamSpeak software package comes with an init script that we have to run as a the teamspeak3 user.
Create and set the content of the /etc/init.d/teamspeak3 file to this:
#!/bin/sh

su -c "/usr/local/teamspeak3/ts3server_startscript.sh $@" teamspeak3
Set the file to be executable:
sudo chmod u+x /etc/init.d/teamspeak3
And then tell the server to start TeamSpeak when the Droplet starts
sudo update-rc.d teamspeak3 defaults
For the first time we will start it by hand:
sudo service teamspeak3 start
You should see the output similar to the following:

Copy the output from this step and save it somewhere safe, you will need it in a later step.
Step 6 - Open the Firewall Port
If you’re running a firewall on your droplet you will have to open the TeamSpeak 3 server port, 9987. Here’s how to allow that port using UFW - Uncomplicated Firewall:
sudo ufw allow 9987/udp
Step 7 - Verify the Server Is Running
- Install the client locally for your operating system from TeamSpeak - Downloads
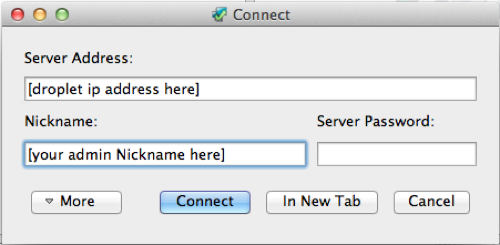
- Connections -> Connect…
- Enter the IP of your droplet and connect
Step 8 - Take Ownership
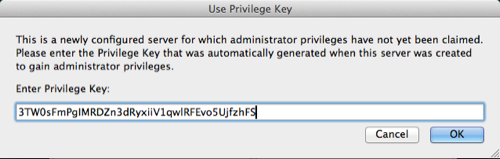
When you first log into your fresh TeamSpeak 3 server you should see the following dialog:
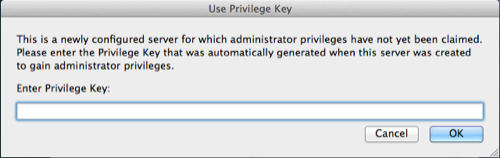
Copy everything after the token= and paste this:
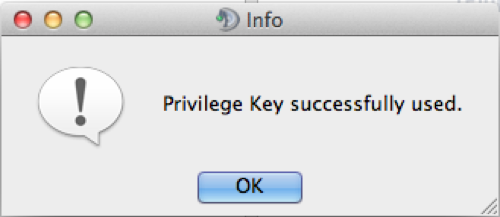
Now you’re the server administrator:
Step 8 - Set a Password and Server Name
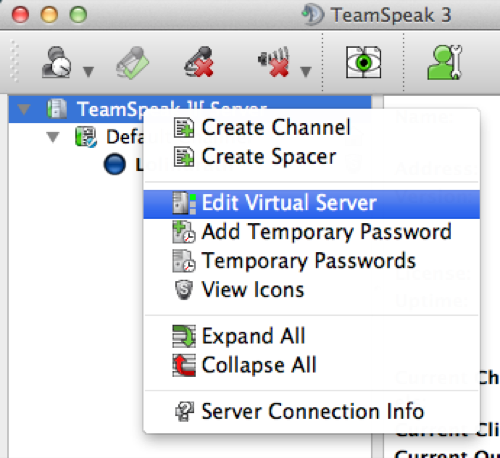
Right click on the TeamSpeak ]|[ Server item in the left-hand panel and click ‘Edit Virtual Server’:
Rename the server by changing the Server Name field and also set a password to access the server:
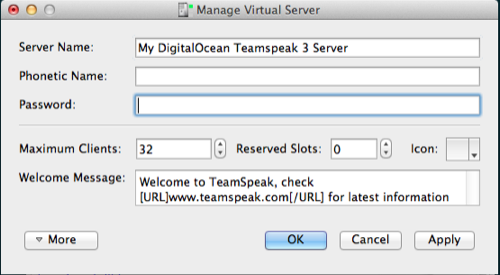
Now only the people you choose can access your TeamSpeak server.
Conclusion
Now you have a great way to chat with friends using a server you control. Just distribute the your droplets address plus the password and you’re set.
More help and advanced server setup articles are available in the TeamSpeak 3 Knowledgebase
Update (05/28/2014): incorporated instructions on how to install as a regular user into this article. Here’s How to Run Teamspeak 3 Server as a Regular User